Dot Browser Source Documentation
Contributing to Dot Browser
To get started with setting up, building and contributing: refer to the Building Dot Browser page and traverse through subsequent documents.
Building Dot Browser
This document outlines how to build Dot Browser.
Build targets
Building Dot Browser on Windows
This document will guide you in setting up a development environment to build and hack on Dot Browser using your Windows machine.
Note This section is a work in progress.
Building Dot Browser on Linux
This document will guide you in setting up a development environment to build and hack on Dot Browser using your Linux machine.
Introduction
Dot Browser is proudly built on top of the Mozilla Firefox web browser, which is why there are many references to Mozilla repositories and code in these documents.
Mozilla, Firefox and the Firefox logo are trademarks of the Mozilla Foundation in the U.S. and other countries.
Dot HQ and Dot Browser are not associated with Mozilla or its products.
Requirements
Please ensure your system adheres to the following requirements before continuing.
- At least 4 GB of ram (8 GB is advised)
- At least 4 CPU cores
- 30.0 GB of free space
- 64-bit operating system
You will also need the following tools installed on your Linux machine to continue:
-
For Debian-based systems (e.g. Ubuntu, Linux Mint, Pop!_OS, ZorinOS):
sudo apt-get install build-essential git curl python3 python3-dev python3-pip -
For Fedora Linux systems:
sudo dnf group install "C Development Tools and Libraries" "Development Tools" sudo dnf install git curl python3 python3-devel -
For Arch Linux systems:
sudo pacman -S base-devel git curl python
You will also need the following third-party tools installed:
- Rust - Installing Rustup will also install the Rust Compiler, Cargo and other required tools.
Cloning the source
The first step is getting the Mozilla source and the Dot Browser source.
We are currently using the release branch on the gecko-dev.
You can clone the source by substituting the GitHub repository URL of your choice into the command below:
git clone https://github.com/dothq/gecko-dev
This may take a while depending on the speed of your network connection.
Once cloned fully, enter the directory.
cd gecko-dev/ # Or wherever Git cloned it to
Now inside the directory, we will need to clone the Dot Browser source.
You can do this by running:
git clone https://github.com/dothq/browser-desktop dot/
Your directory structure should look something like:
gecko-dev # Root directory
    - accessible
    - browser
    - build
    - caps
    - ...
    - dot # Dot directory
        - app
        - base
        - branding
        - components
    - editor
    - extensions
    - gfx
    - ...
Once cloned, you can either stay in the gecko-dev directory to switch into dot.
You can now start your IDE or editor and move onto the build step.
Building the browser
Installing mach commands
To continue with the next few steps, you will need to run the install mach commands script to add some Dot Browser specific tools to the Mozilla build tool.
Assuming you are in the dot directory, run the following Python script:
./scripts/install_mach_commands.py
Importing patches
In order to build Dot Browser correctly, you will need to import a series of patches into Firefox.
Assuming you are in the dot directory, run the following mach command:
./mach import-patches
This will automate the import process.
If all patches have applied successfully, you shouldn't see any errors onscreen.
Note: If you are seeing errors and you haven't made any changes to the patch files, please open an issue immediately.
Once all the patches have applied cleanly, verify that your mozconfig in the root directory contains the following:
ac_add_options --enable-application=dot
Note: There may be other things in the mozconfig file, as long as it contains the above string everything is working correctly.
You should be done for the configuration process now, however, if you wish to speed up build times or configure the build further: please refer to the Configuring Build Options document.
Compilation
If your system satisfies all of the listed build requirements, you can start a mach build by running:
# You can be in either the `dot` or root directory to use `mach`
./mach build
Builds can take upwards from 10 minutes up to several hours, please be patient!
You can speed up build times in future by following the guidance on sccache in the Configuring Build Options document.
Hacking
Once Dot Browser is built successfully, you will be able to run Dot and start hacking using the following mach command:
# You can be in either the `dot` or root directory to use `mach`
./mach run
If you are considering contributing to the Dot Browser open-source project, please read our Contributors Guide document as it outlines the procedures for submitting a patch to our repository.
Updating the repositories
Whenever there is a new change, it is important you pull BOTH the Dot Browser source and Firefox source.
Assuming you are in the dot directory, this can easily be done by:
./mach sync
You will then need to rebuild the browser in order to see the newest changes in your build. If there are minute changes, your build could be quite fast. Larger changes will take longer as more is needed to be recompiled.
Building Dot Browser on macOS
This document will guide you in setting up a development environment to build and hack on Dot Browser using macOS.
Note This section is a work in progress.
Configuring Build Options
The mozconfig file located in the root is used to configure and set-up the Mozilla Build System. There are many different options you can tweak and modify to achieve different results. It is important you are aware what each option does before using in your mozconfig file as different options can drastically change your build result.
Option types
There are two different ways of applying an option to the build.
mk_add_options- Options under this category will be passed to theclient.mkMakefile.ac_add_options- Options under this category are passed toconfigure.
Common options
sccache
sccache is a solution developed by Mozilla to cache compilation results. sccache is very similar to ccache but sccache supports caching within Rust builds.
You can enable sccache by adding ac_add_options --with-ccache=sccache to your mozconfig file.
Note This section is a work in progress.
Contributors Guide
This document assumes you have setup your repositories and have built the browser in Building Dot Browser.
Note This section is a work in progress.
The Browser DevTools
Dot Browser exposes some APIs when in non-release mode in order to debug and see the internals of the browser.
Notes
The Browser DevTools cannot be used in a release build of Dot. This is due to security risks with exposing these APIs for any program on your computer to access. You will know if Dot Browser has been built in release mode if the MOZILLA_OFFICIAL=1 option is set in your mozconfig.
How to use
Launch Dot Browser using ./mach run. Once launched, you should see a message similar to in the logs. Keep note the port number displayed.
0:02.70 /home/user/browser/obj-x86_64-pc-linux-gnu/dist/bin/dot
DevTools server started on port 40291.
In this instance the port number is 40291.
Now start by launching Mozilla Firefox (we recommend Nightly or the Developer Edition, but Stable works fine).
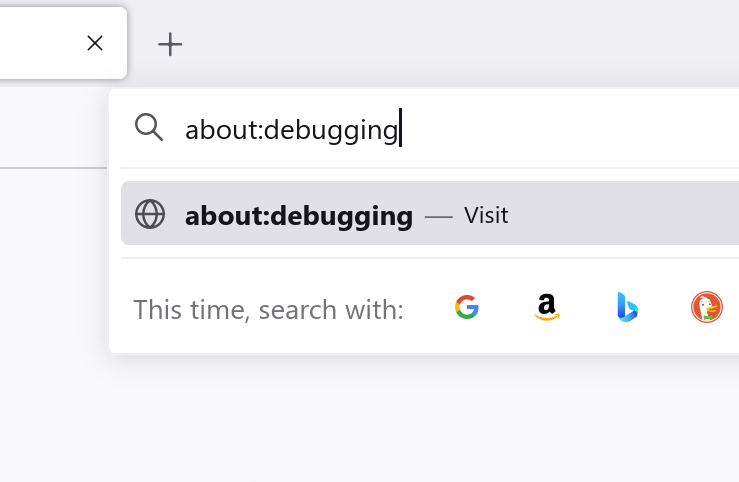
Next, navigate to about:debugging in the address bar.
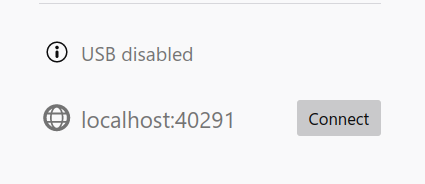
Once the page loads, scroll down to the Network Location on the Setup screen.
In the Host box, type in the local address of the DevTools server launched by Dot Browser.
It will be in the format of localhost:[port from earlier], for example: localhost:40291.

Click Add and you should now see the network location we just added in the sidebar.
Now, click Connect next to the network location and if everything is sucessful connecting to the browser process, you should see the following screen:
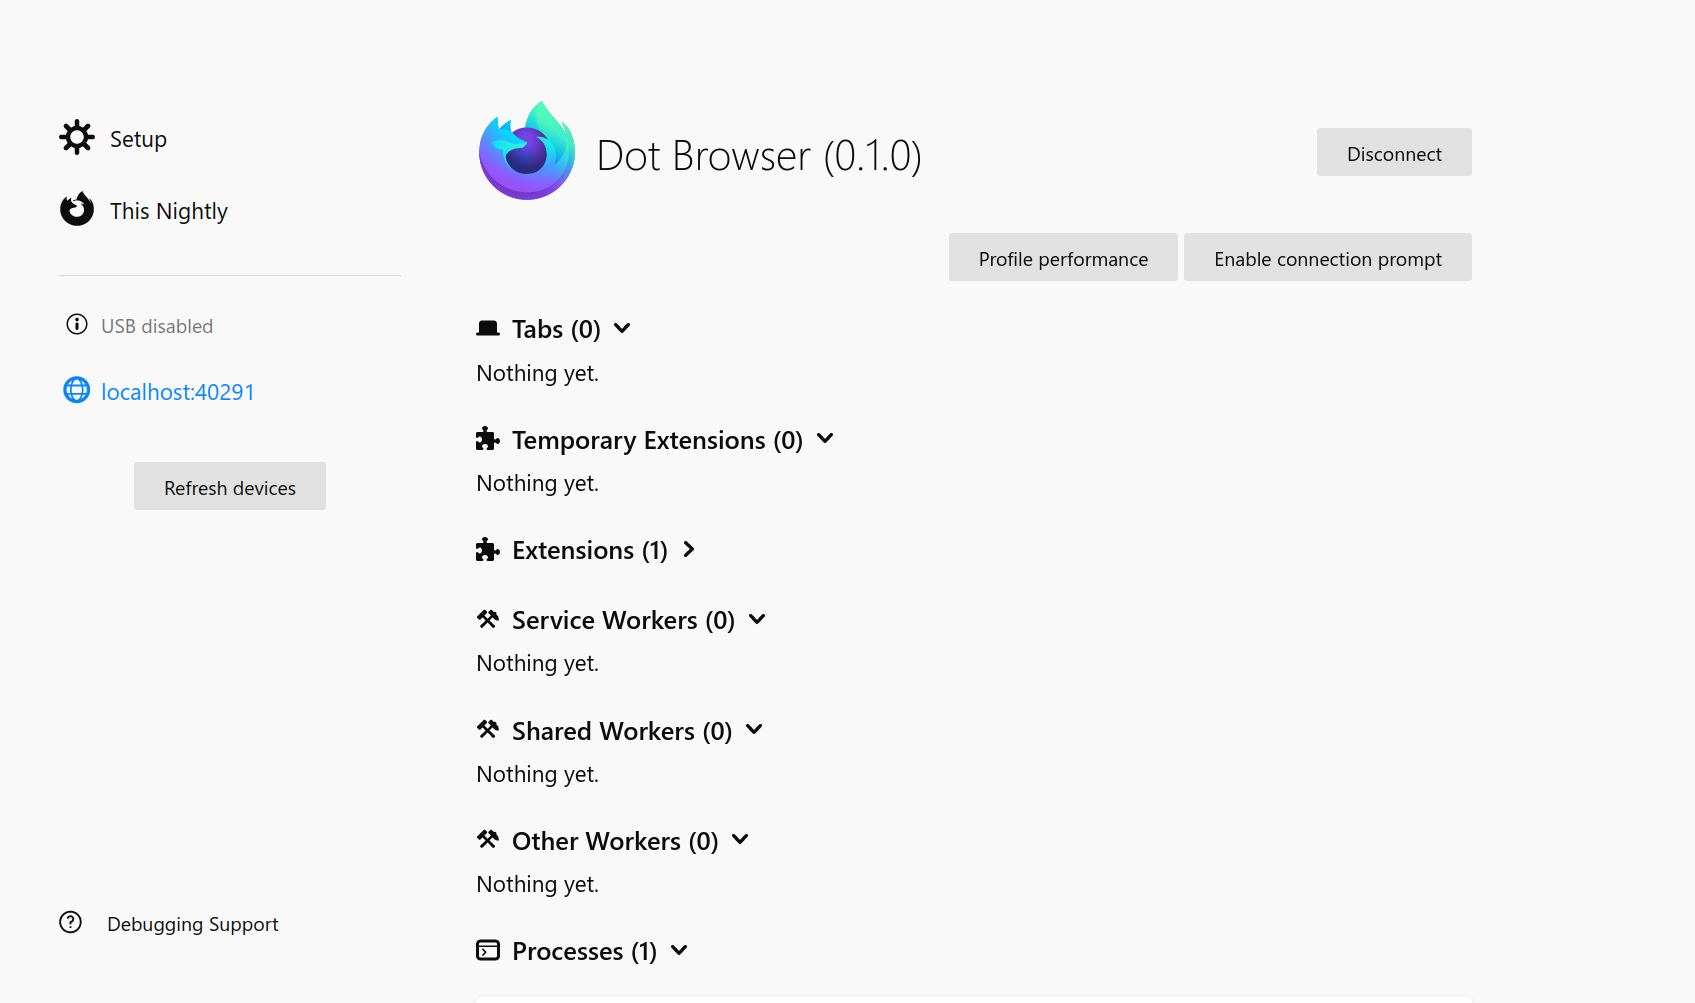
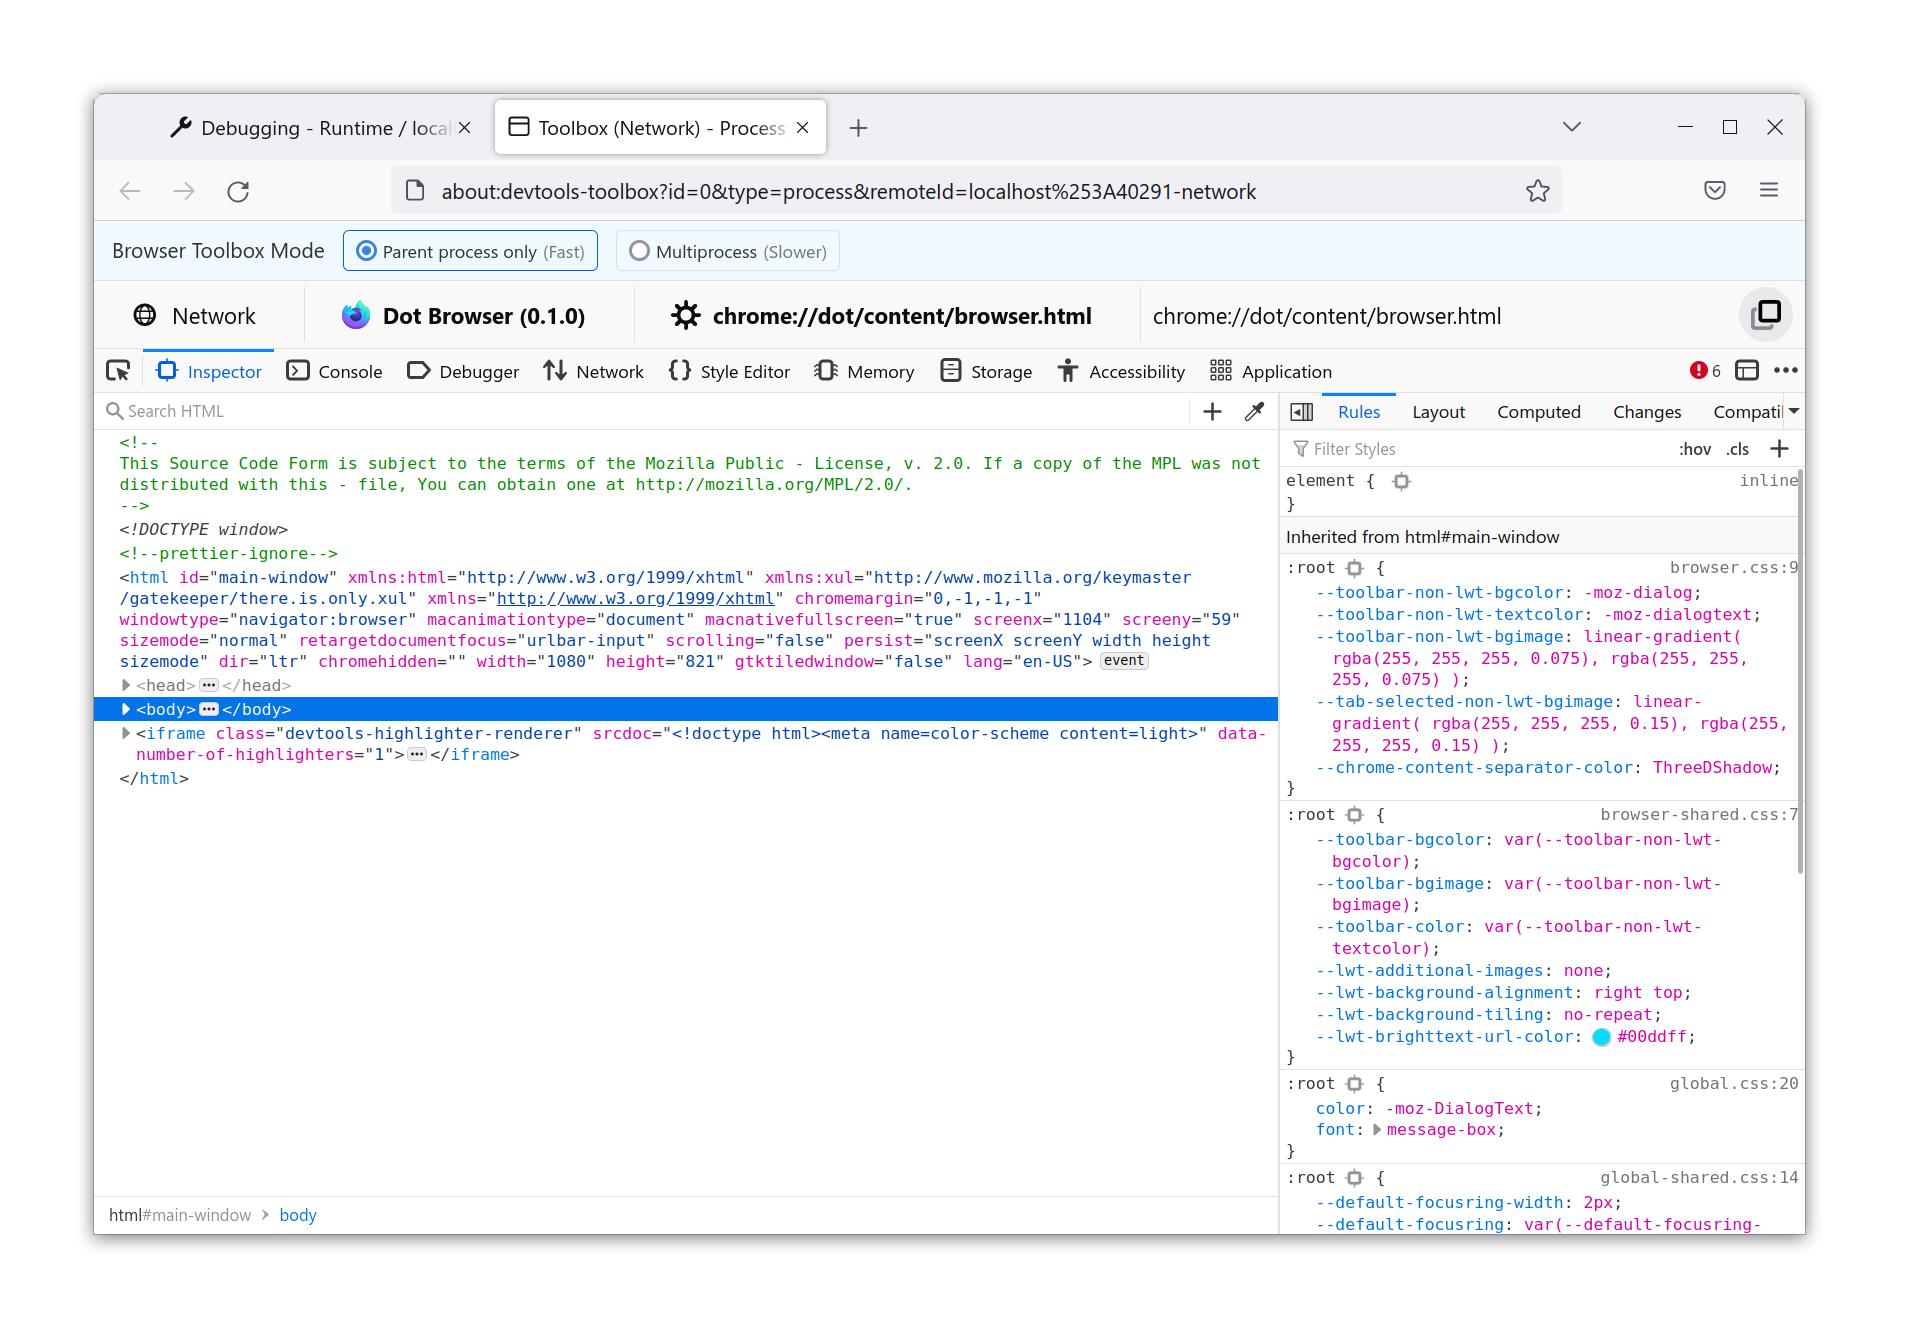
Then scroll right to the bottom until you see the Processes section. Once you see a Multiprocess Toolbox entry, click Inspect to bring up the Dot Browser Multiprocess Toolbox.

A new tab should then open with the Browser Toolbox page. You have successfully connected to Dot Browser's Browser DevTools. Feel free to hack away and modify, these tools are your friend!